Dual booting is a great way to get the best of both worlds when it comes to operating systems. Let’s look at the process of setting up a dual boot system with Windows and Ubuntu.
Pre-requisites
Before we start, ensure you have the following:
- A computer with Windows already installed.
- An Ubuntu installation disk or USB.
- Backup of all important data. While the process is generally safe, it’s always good to have a backup in case something goes wrong.
Step 1: Partition Your Hard Drive
First, we need to create a new partition on your hard drive for Ubuntu.
- Press Win + X and choose Disk Management.
- Find your main hard drive, right-click it, and select Shrink Volume.
- Decide how much space you want to allocate to Ubuntu (at least 20GB is recommended), enter it, and click Shrink.
Step 2: Install Ubuntu
Now, we’re ready to install Ubuntu.
- Insert your Ubuntu installation disk or USB and restart your computer.
- As your computer boots, press the key to open the boot menu (usually F12, F10, or Esc).
- Select your installation disk or USB from the boot menu.
- Choose Install Ubuntu and follow the prompts. When asked about installation type, choose Something else.
- Find the free space you created earlier, select it, and click + to create a new partition. Use the following settings:
– Size: Leave as default
– Type for the new partition: Primary
– Location for the new partition: Beginning of this space
– Use as: Ext4 journaling file system
– Mount point: / - Click OK, then Install Now.
Step 3: Set Up the Boot Loader
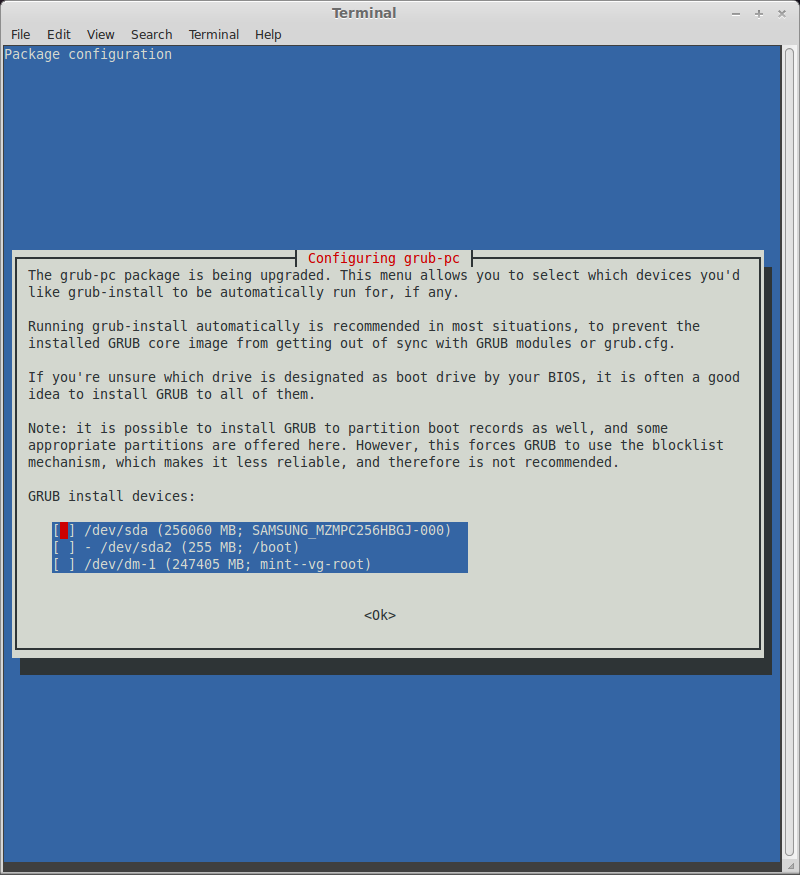
Ubuntu comes with a boot loader called GRUB, which allows you to choose between your installed operating systems when you start your computer.
After the installation, restart your computer. You should see the GRUB menu. If not, you may need to change your boot order in your BIOS settings. Use the arrow keys to select an operating system and press Enter to boot it.
Congratulations! You now have a dual boot system with Windows and Ubuntu. You can enjoy the flexibility and power of Ubuntu while still having access to your familiar Windows environment. Happy computing!
Remember, this is a general guide. Some steps may vary depending on your specific hardware and software configurations. Always refer to the official website if in doubt. Enjoy your new dual boot system!


Pingback: Cannot add PPA: ppa:yannubuntu/boot-repair - Concept: Clarity